How To Build A School Landing Page Using Only Html And CSS
Project setup
In this step, we are going to build the project structure of the web page. We will use a code editor for the web project—a code editor is simply where you can write code on a computer for building web pages, there are code editors like VSCode, Atom, Sublime Text, etc. I will use the VSCode editor for this tutorial but you can use any other editor.
After that, I will click on Windows Explorer—which is where all my files are located and click on New Folder and create a folder and save it as schoolwebpage.

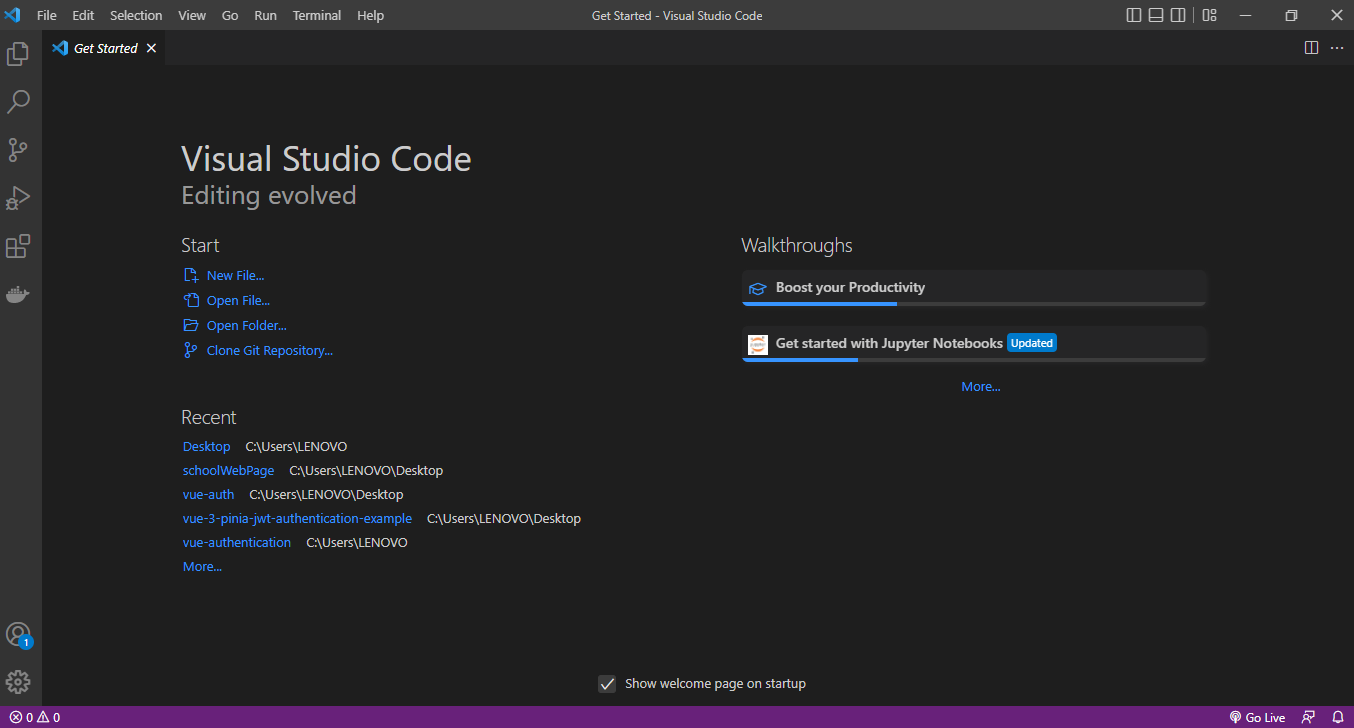
Open VSCode editor and in the editor, click on File and select schoolwebpage from where I saved it and that will set up the workspace.

-
Open the project folder(schoolwebpage) and create an html file, save it as
index.html. -
Now we create another file for styling (
.css) under css folder and save it asstyles.css -
For the image used in this tutorial, you can download it from freepik.
-
For the font awesome link—this is where I got the icons that are in the first section, the footer and the logo. You can get the cdn here.
-
After downloading, save the image in the images folder.
Now, add these lines of code to your index.html file.
<!DOCTYPE html>
<html>
  <head>
    <meta charset="utf-8" />
    <meta http-equiv="X-UA-Compatible" content="ie=edge" />
    <meta name="viewport" content="width=device-width, initial-scale=1.0" />
    <title>Landing Page</title>

    <!--Css Link-->
    <link rel="stylesheet" href="css/styles.css"/>

    <!--Font Awesome link-->
    <link rel="stylesheet" href="https://cdnjs.cloudflare.com/ajax/libs/font-awesome/5.15.4/css/all.min.css"/>
  </head>
  <body>
    <p>Hello World! Let's start coding.</p>
  </body>
</html>
Then we will go to Windows Explorer and click on the folder and then click on 'Open' and choose the browser you would want to use and open it. In my case, I choose the Firefox browser.

There it's showing 'hello world'.

So now, we can start building our school's landing page.
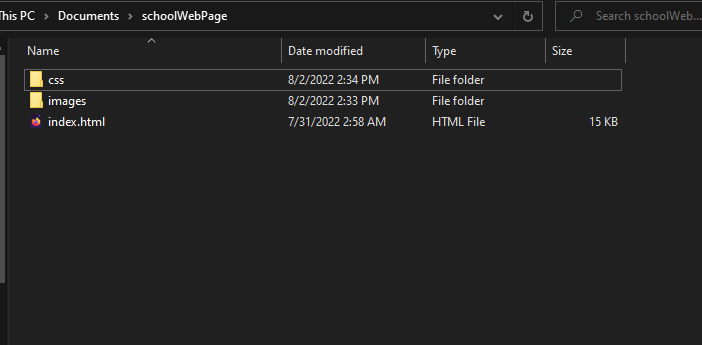
This is what our project structure will look like with all the files including the image.